Using Security Assertion Markup Language (SAML 2.0), users can use their Google Cloud credentials to sign in to Thanks platform. It provides a seamless login experience along with enhanced secure authentication mechanism.
You need to have G Suite subscription with admin rights and Thanks platform admin rights to activate the SSO. Also users need to have unique Email/Employee code to enable the service.
How To Setup
Prerequisites
To get started, you need the following items:
- A GSuite subscription with admin rights.
- Admin rights for thanks platform.
- Unique identifier for users (either email or employee-id).
Implementation
Here’s how to set up single sign-on (SSO) via SAML for Thanks with GSuite.
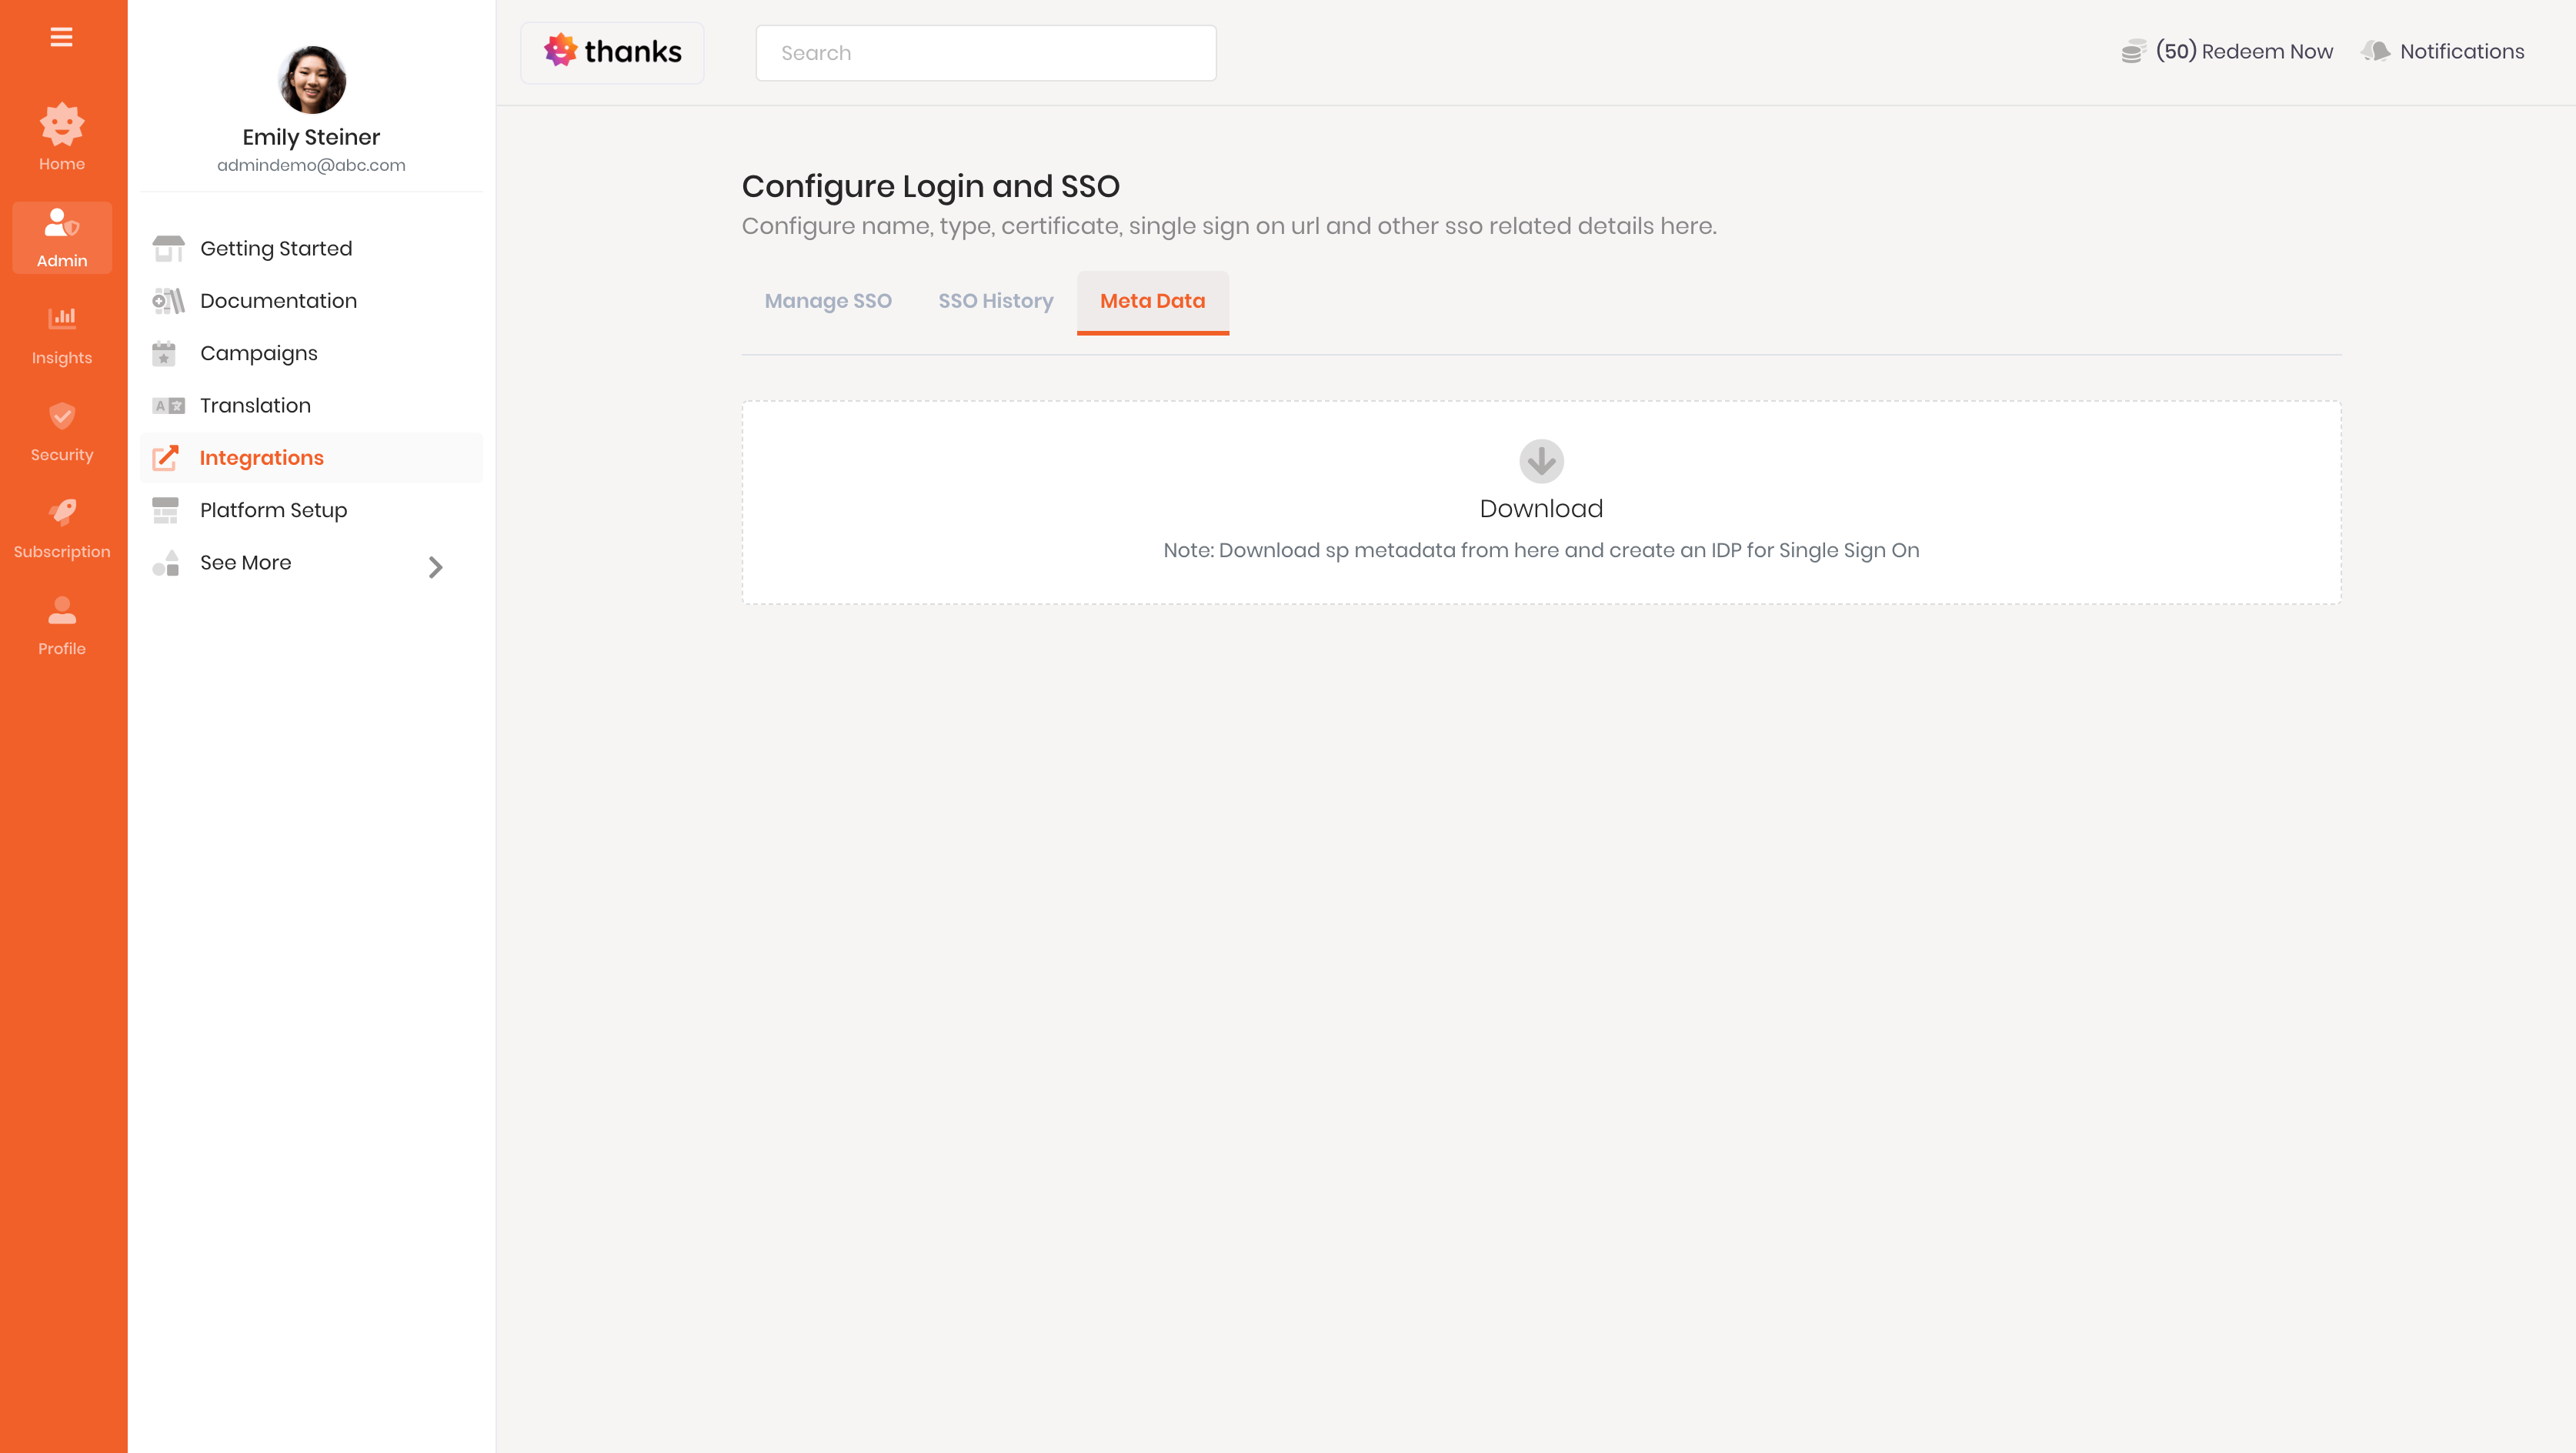
Step 1 : To download the Thanks platform metadata file
- Login to the Thanks application.
- On the left side of the page, click > Integrations > Login SSO > Manage Now > Metadata.
- Click the download option to download the metadata file.
- It will download the metadata XML file to complete the setup of the relying party.
Step 2 : Get Google identity provider (IdP) information
Once the configuration completed, copy your metadata file and move to next step.
Step 3 : To complete the setup
- Login to the Thanks application.
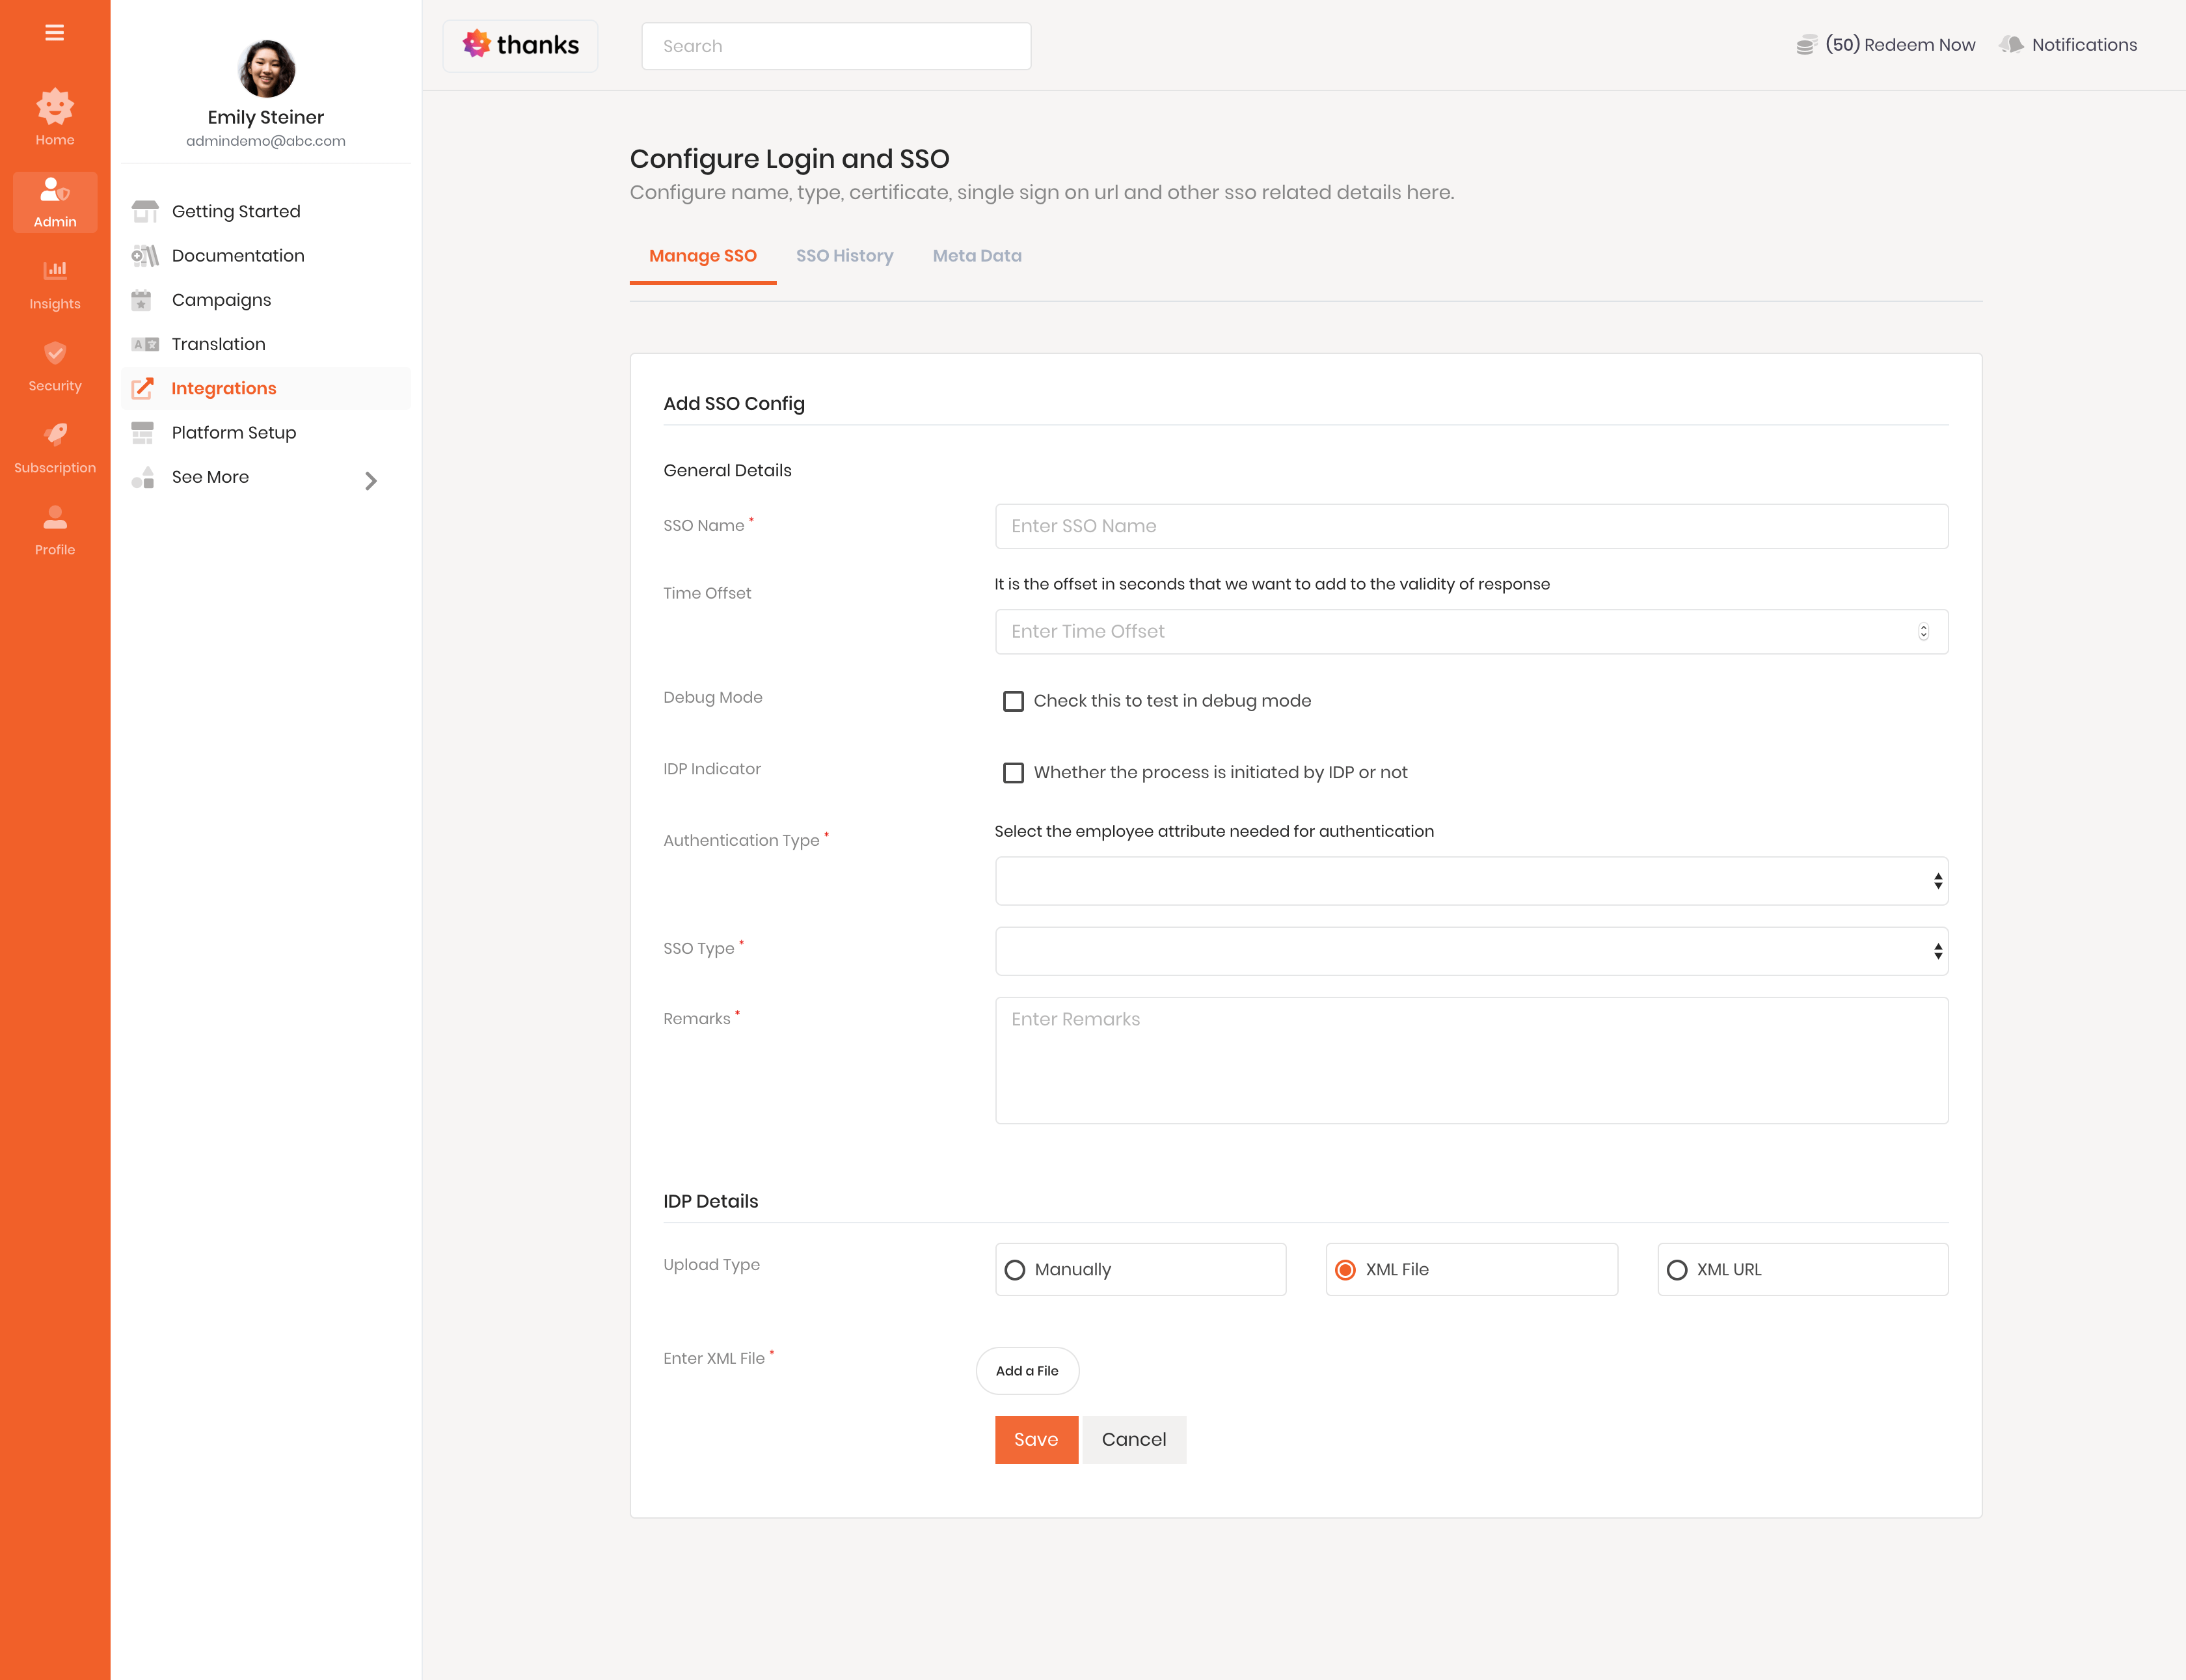
- On the left side of the page, click Admin > Integrations > Manage SSO > Add New SSO Config.
- In the SSO Name field, enter a name to recognize the integration. This is for internal understanding purpose.
- In the Time Offset field enter the time in seconds for example 60/120 which will be used to allow time difference between client-server and Thanks server for authorization purposes. If the time difference greater than the offset, authentication would fail. For security reasons keep it under 180 seconds i,e; 3 minutes.
- The Debug Mode field can be checked during the testing period before going live so thanks team can check the detailed log in case any error comes and help you to debug for to complete the configuration.
- The IDP Indicator field can be checked if the client wants to enable identity provider based SSO. by default, it would be SP (service provider initiated).
- In the Authentication Type field select either Email/Employee Id based on the unique filed in your active directory.
- In the SSO Type field, select the IDP provider name as GSuite.
- In the Remarks, field add some description regarding the integration/project for which the SSO is enabled.
- In the Upload Type field, you can select the approach through which you want to upload the Federation metadata file.
- In the Manually type option open your federation metadata file and copy the below fields.
- Entity ID
- Single SignOn URL
- Artifact Resolution URL
- Signing Certificate
- After adding the above fields click Save to complete the configuration.
- In the XML file option,
- Click on Add a File option to upload your federation metadata file.
- In the XML URL type option,
- Copy your federation metadata file URL form the server and add in the Enter XML URL filed.
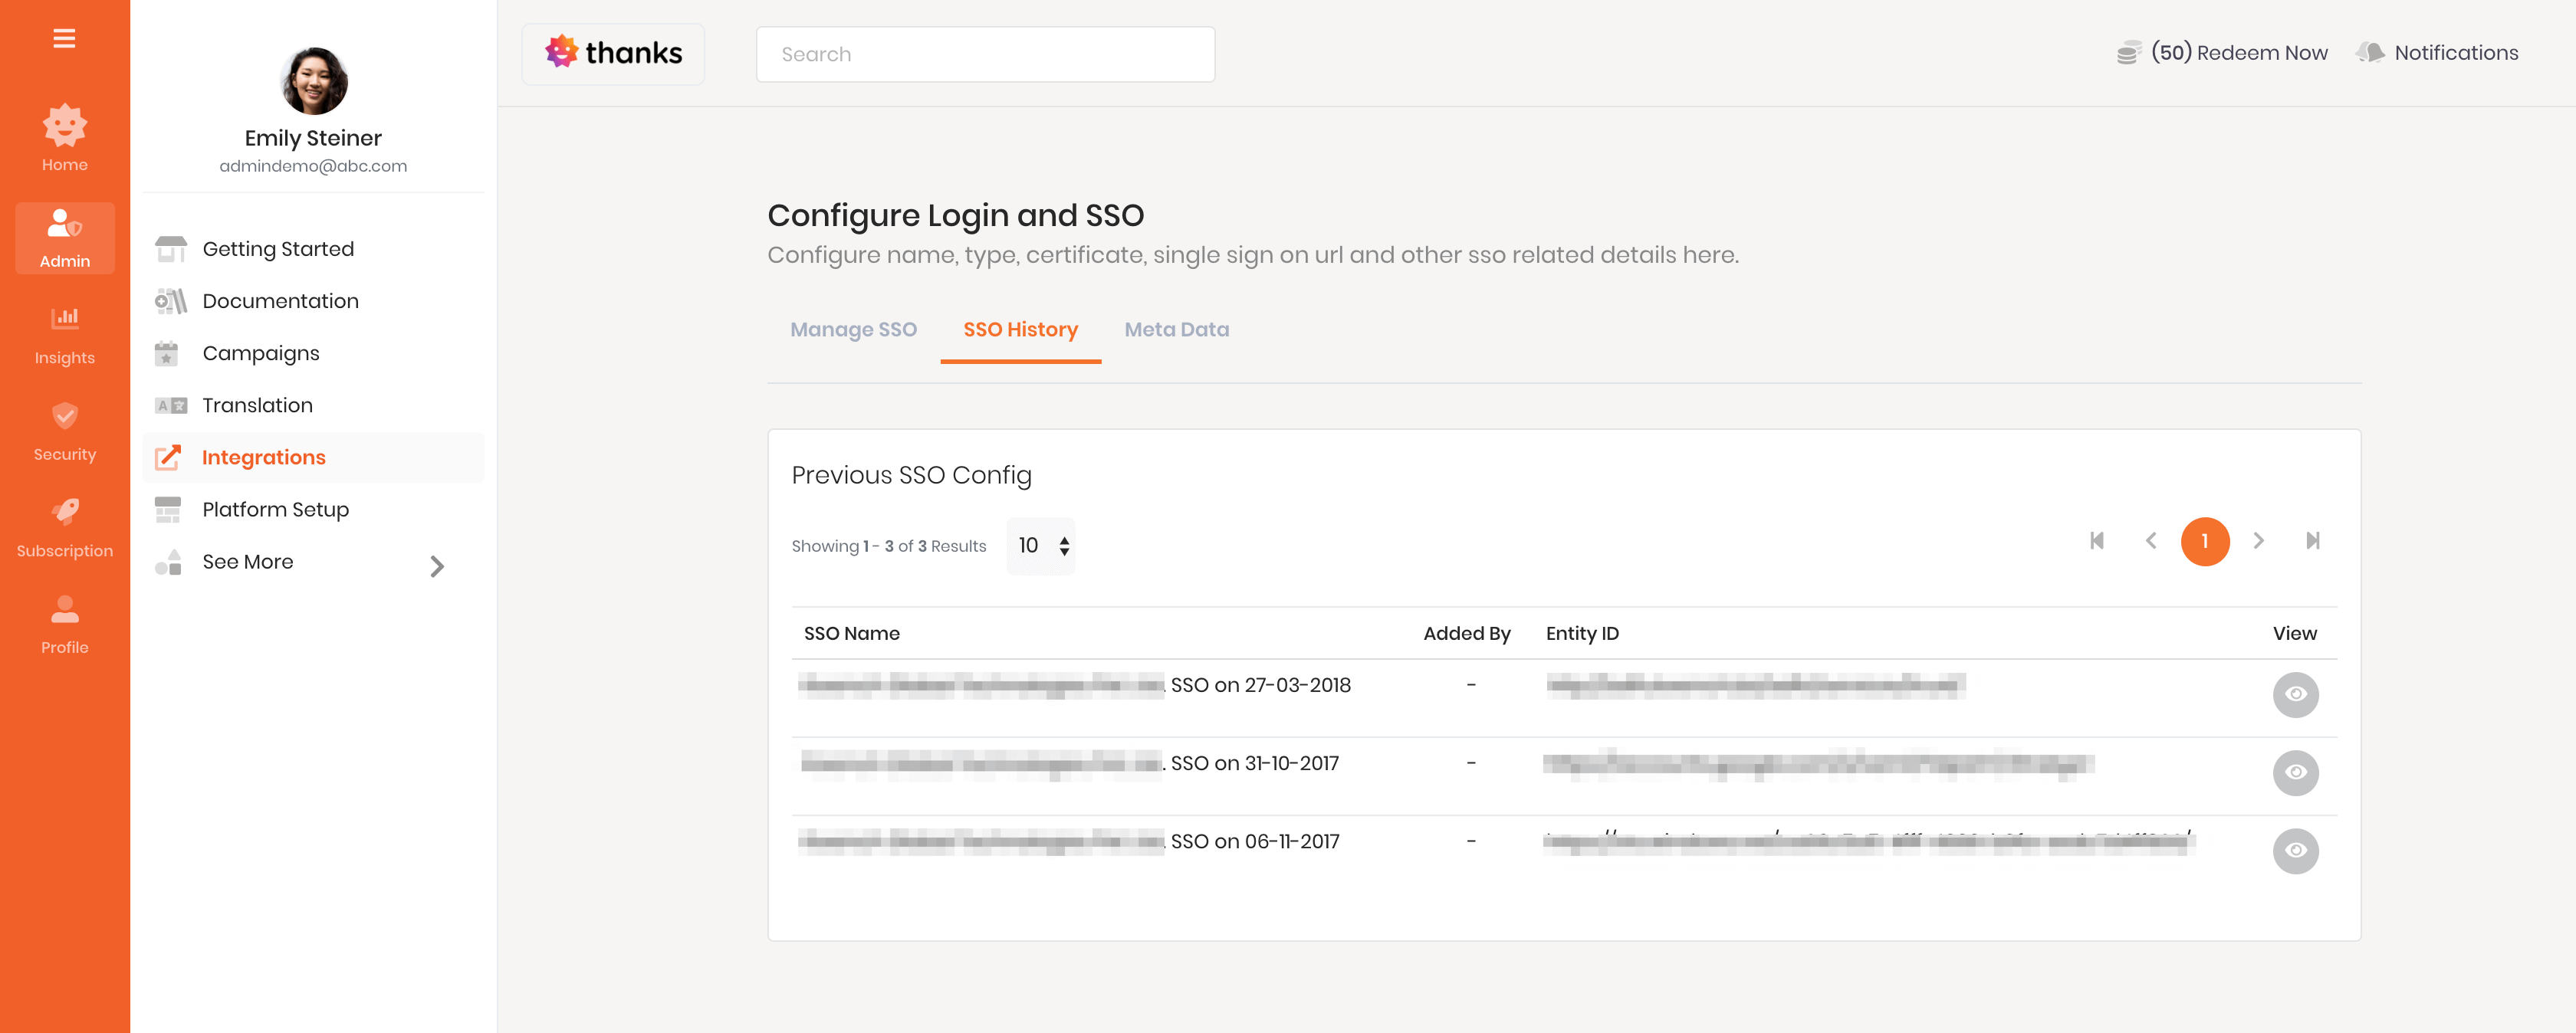
- Once the setup is complete, you can track previous congigurations from SSO history tab.