
How To Setup (Setup from manifest file)
Prerequisites
To get started, you need the following items:
- Office 365/Outlook 2016+ and admin access to setup the plugin.
- Access for thanks platform.
- Unique identifier for users (either email or employee-id).
Implementation ( Microsoft 365 Admin Center)
Here’s how to set up an Outlook extension for Thanks through Microsoft 365 Admin Center
Step 1 : Visit The Admin Center
- Visit the Admin Center in Office 365 and go to the Services & add-ins section in Settings (Integrated Apps) menu in the left navigation bar.
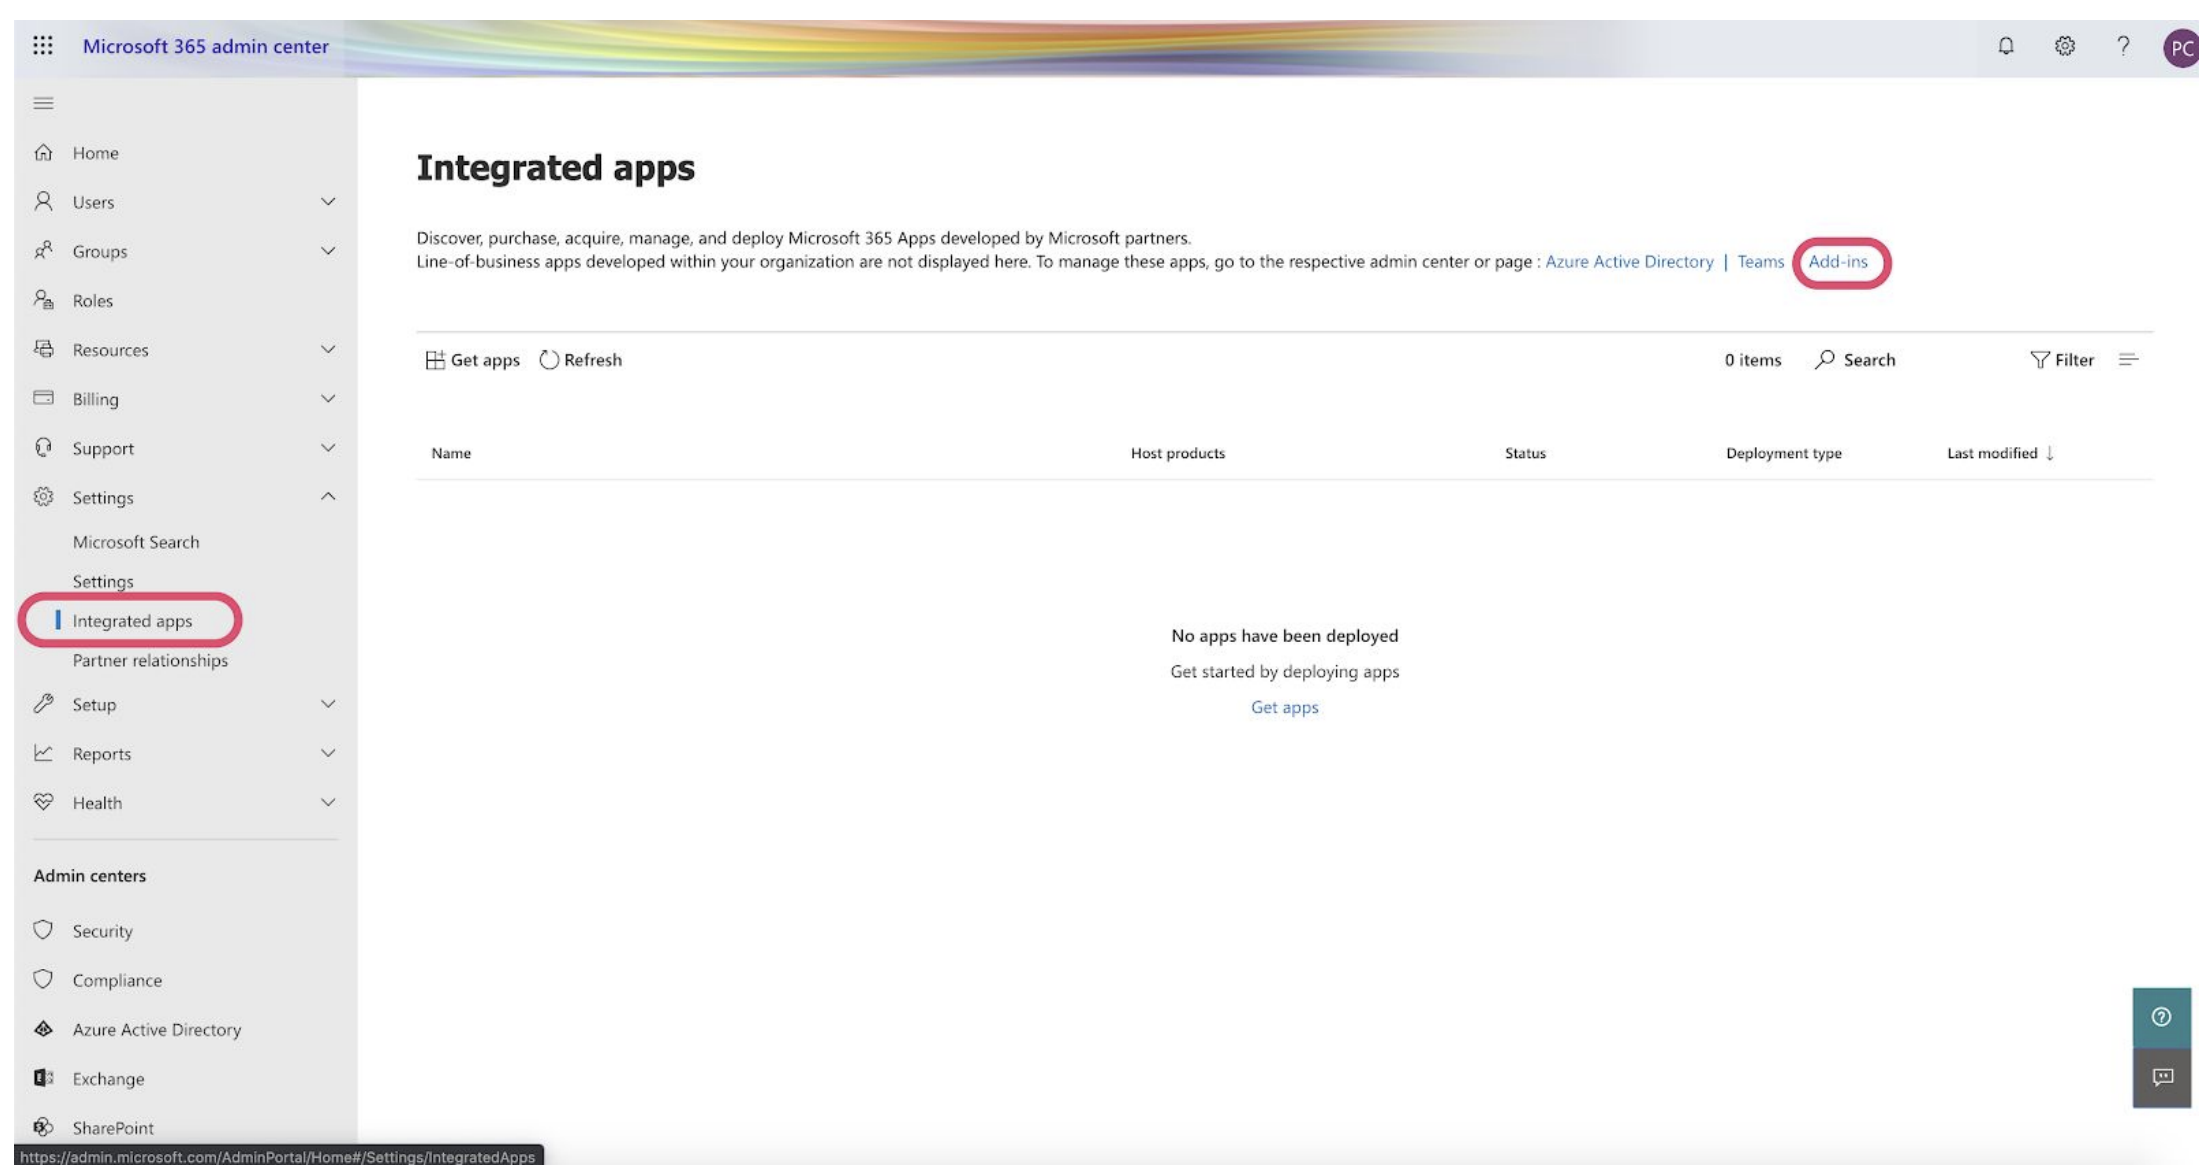
- The page displays the list of services and add-ins configured for your Office account. Now, click on + Deploy Add-In button.
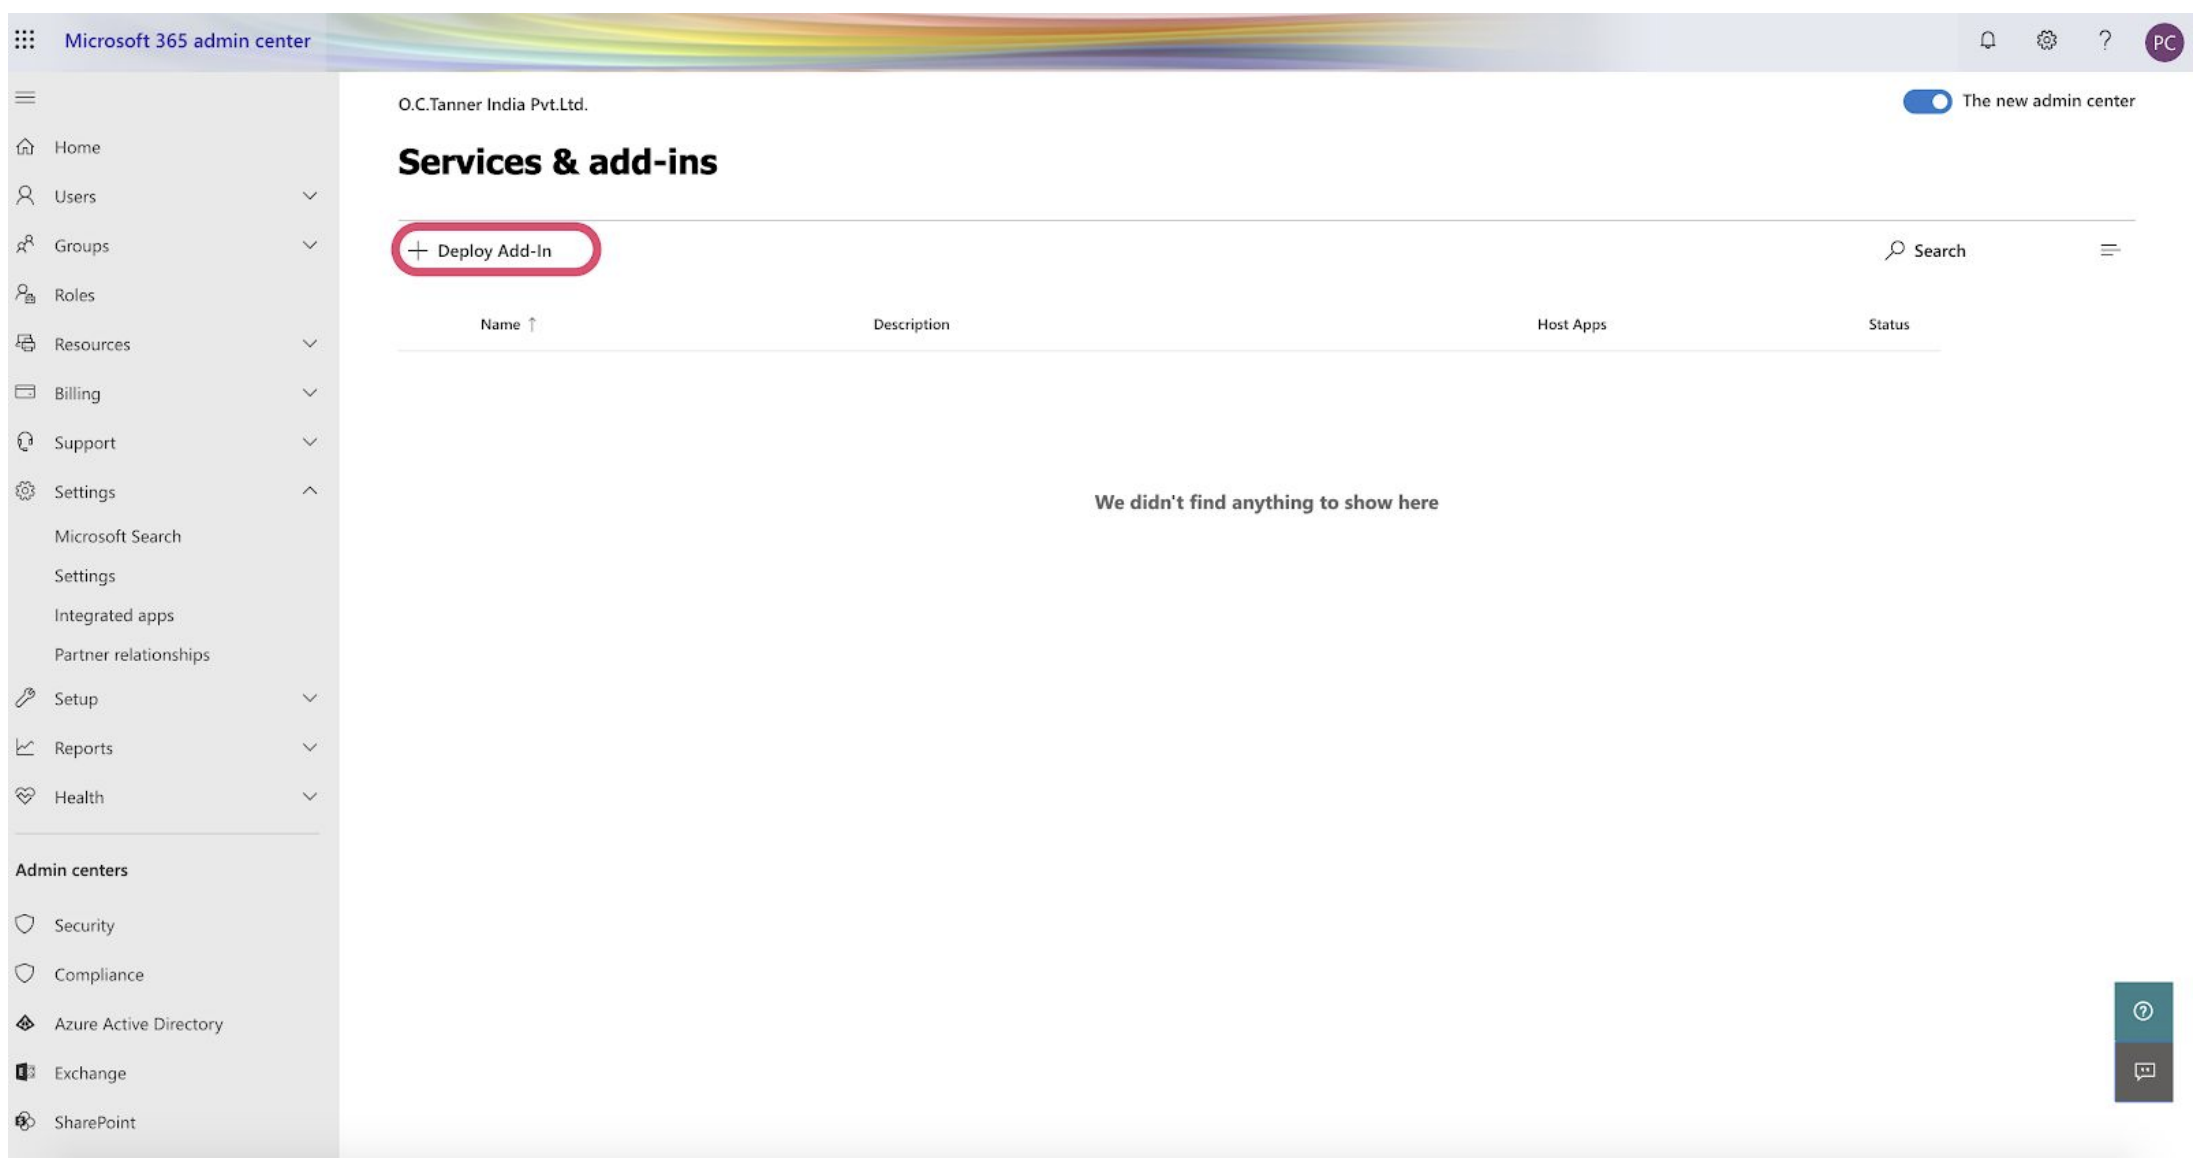
Step 2 : Deploy Thanks Add-in
- After clicking on the button, a new pop-up opens up as shown in the below screenshot. Click on Next to start deploying Thanks.
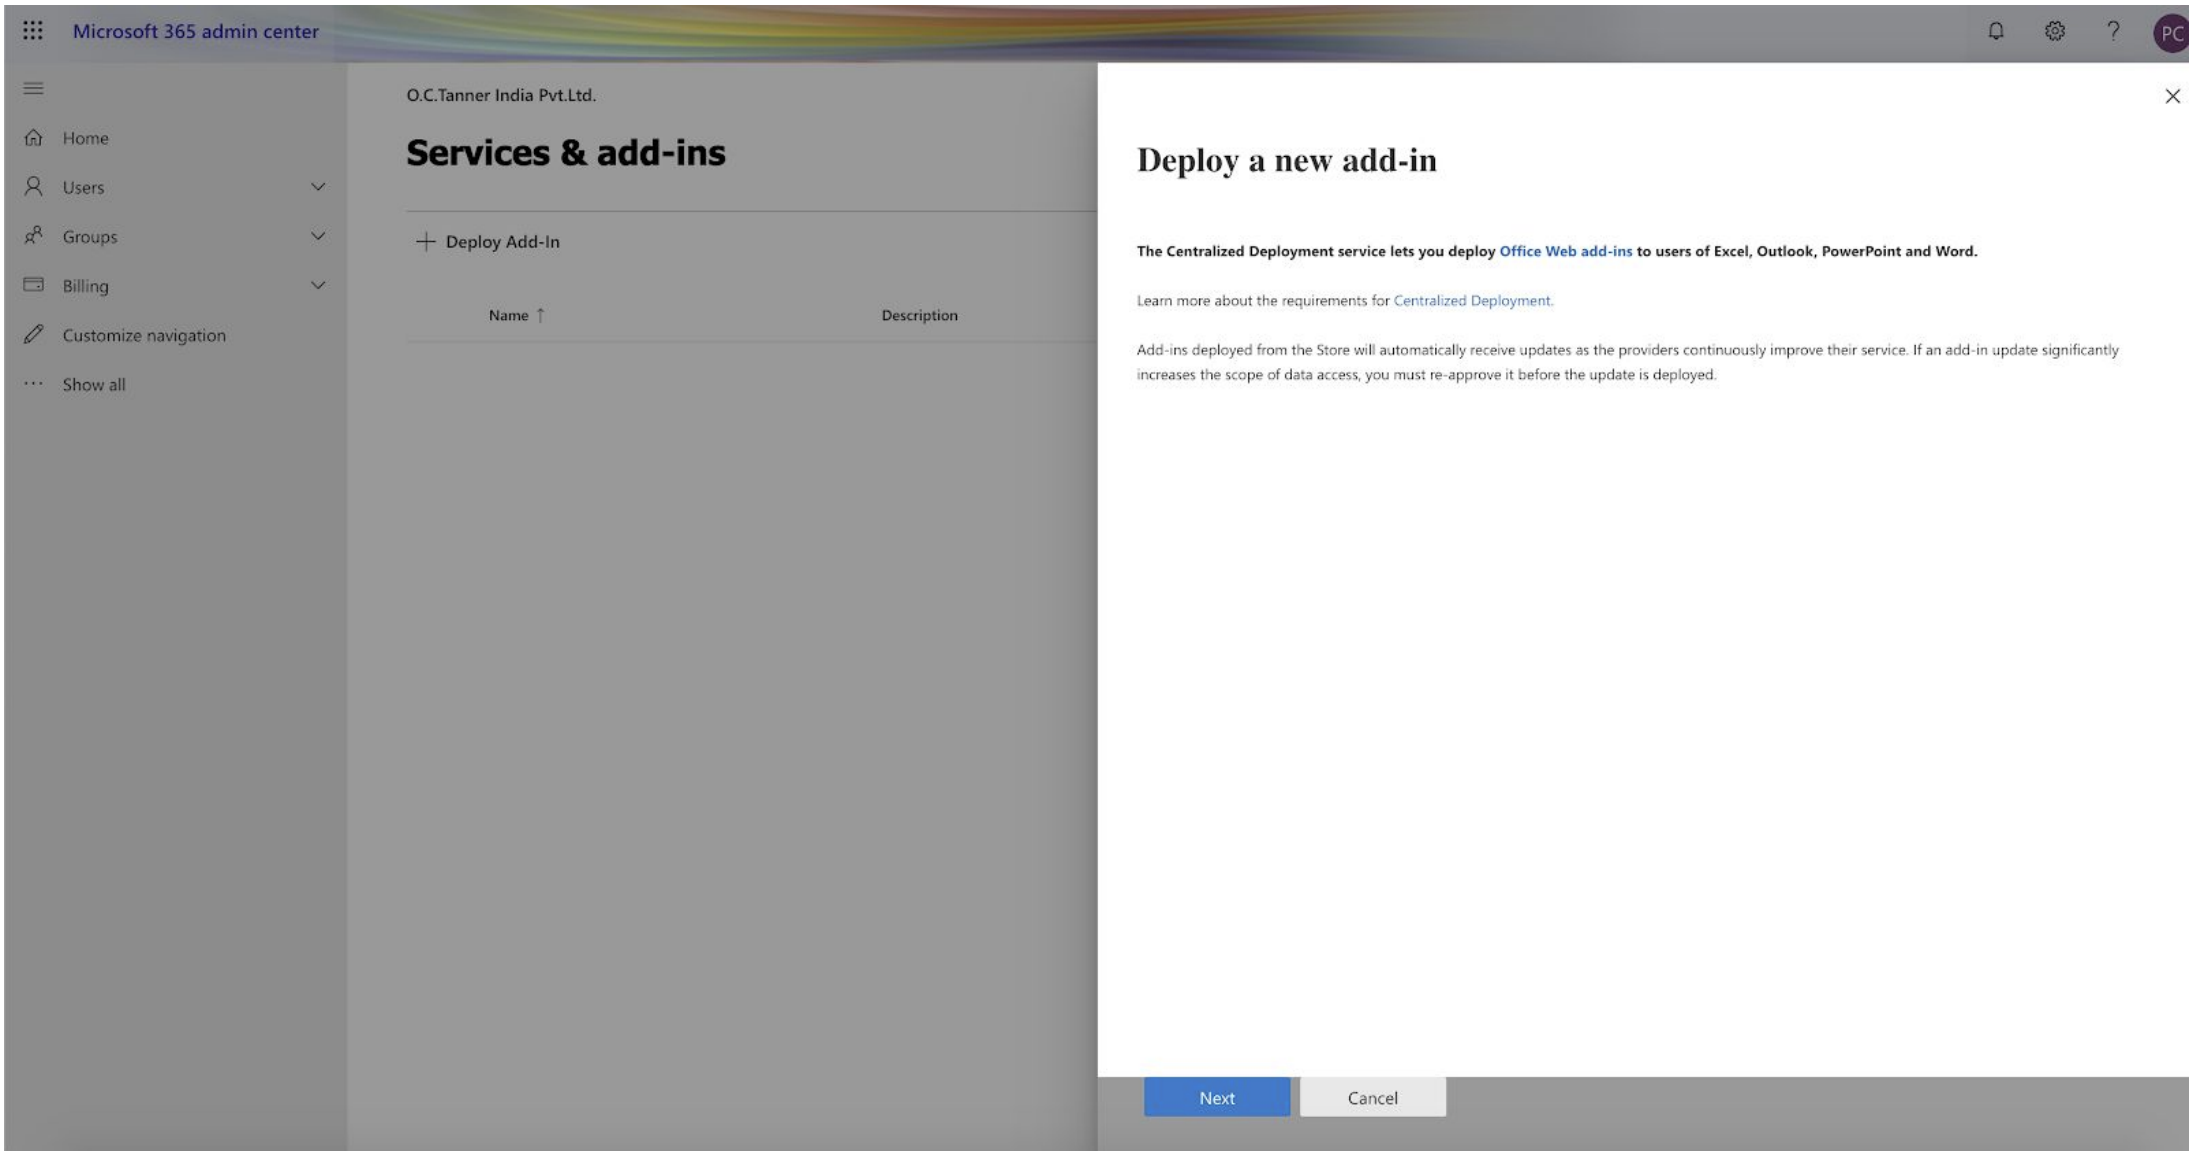
-
Click on Upload custom apps under Deploy a custom add-in.
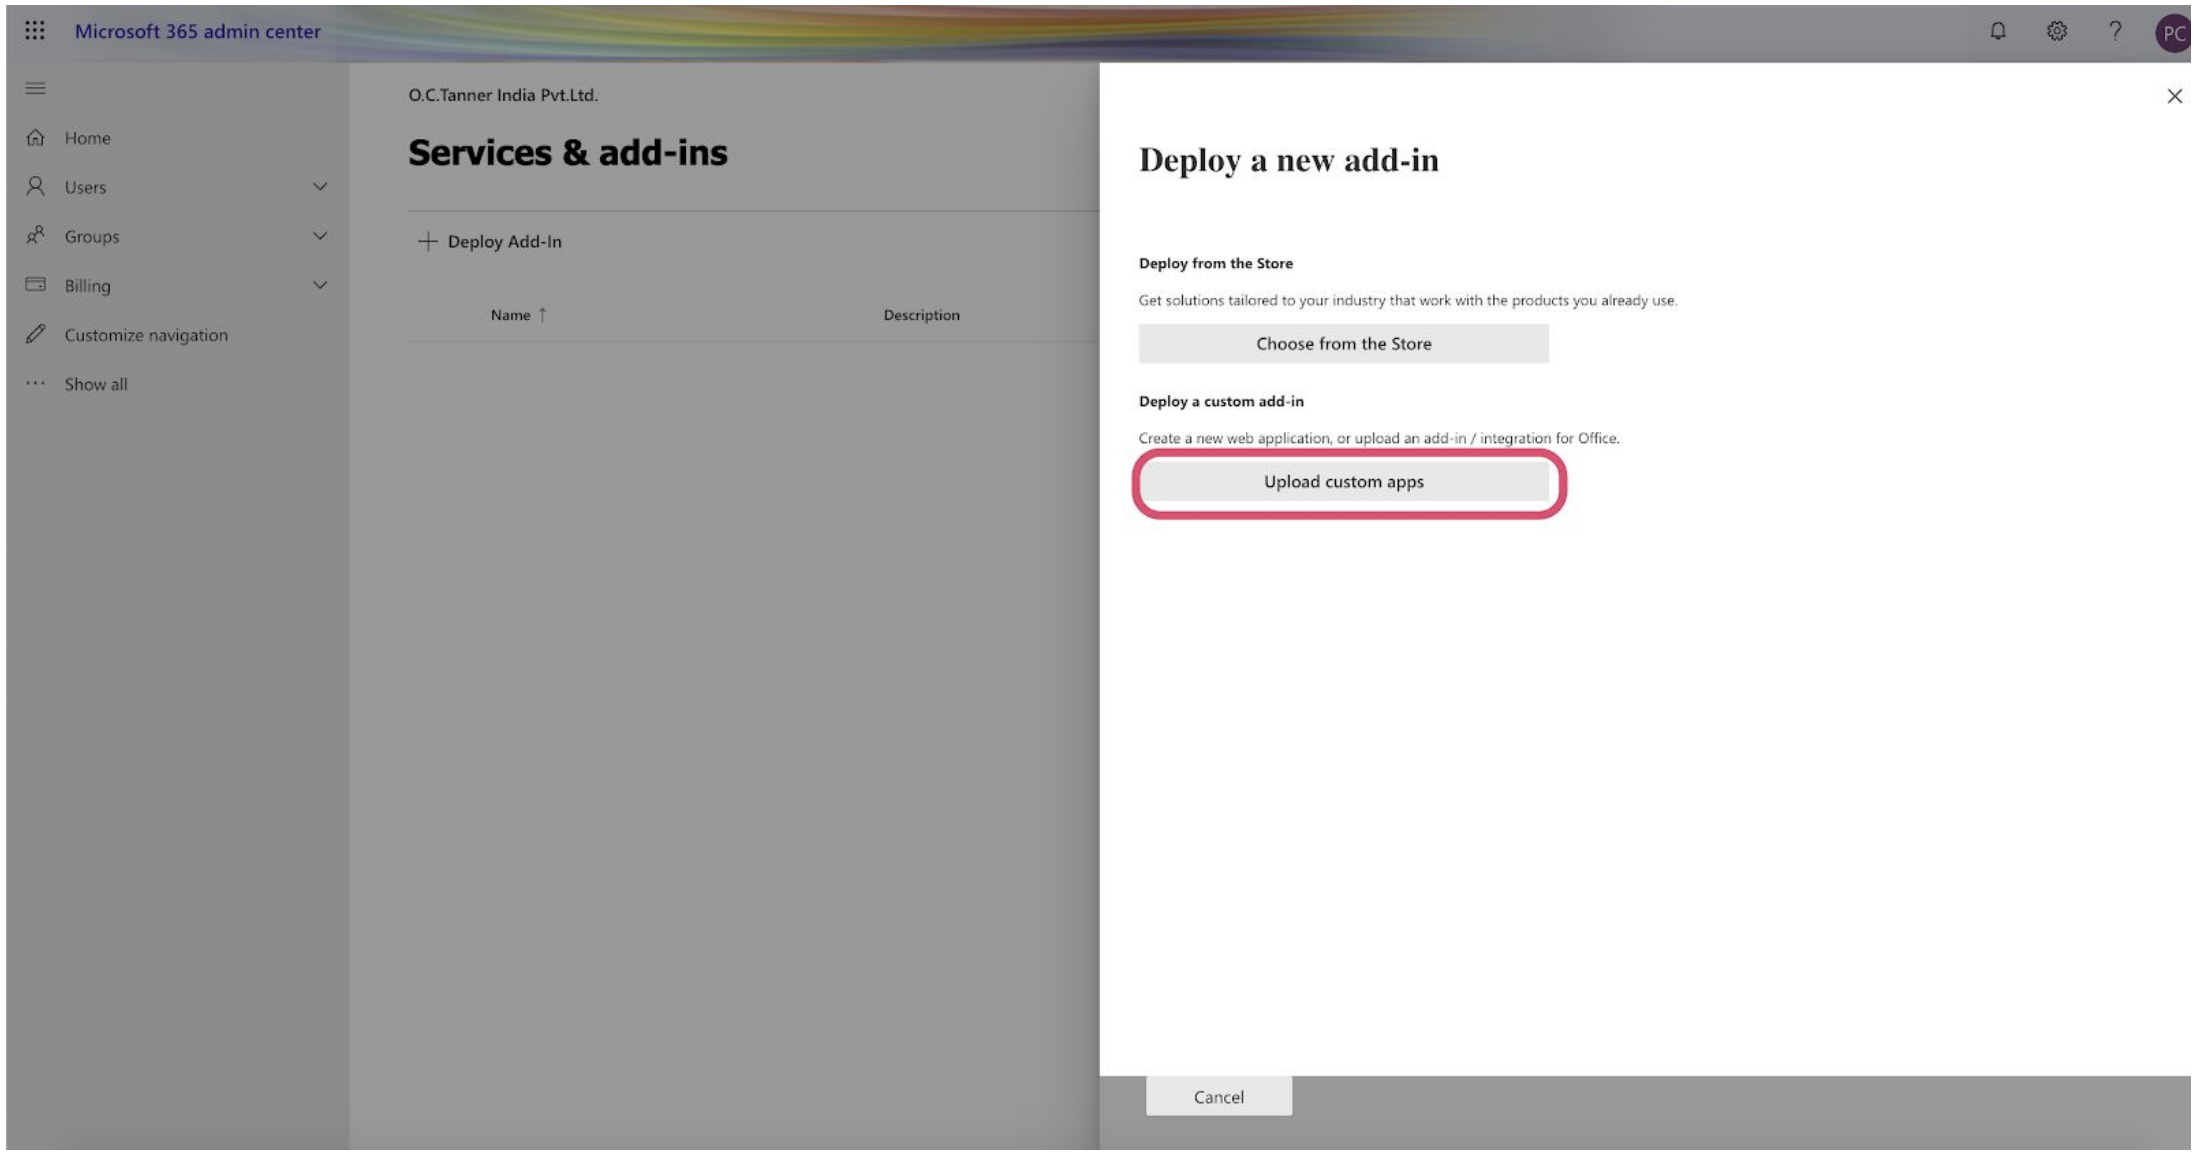
Step 3 : Choose How To Deploy Add-In
The next page shows you two options to make a centralized deployment of a new Add-in. You can accomplish it – I have manifest file (.xml) on this device For Thanks, choose the first option and provide the manifest file. Download the file: Click Here
Now click on Upload button.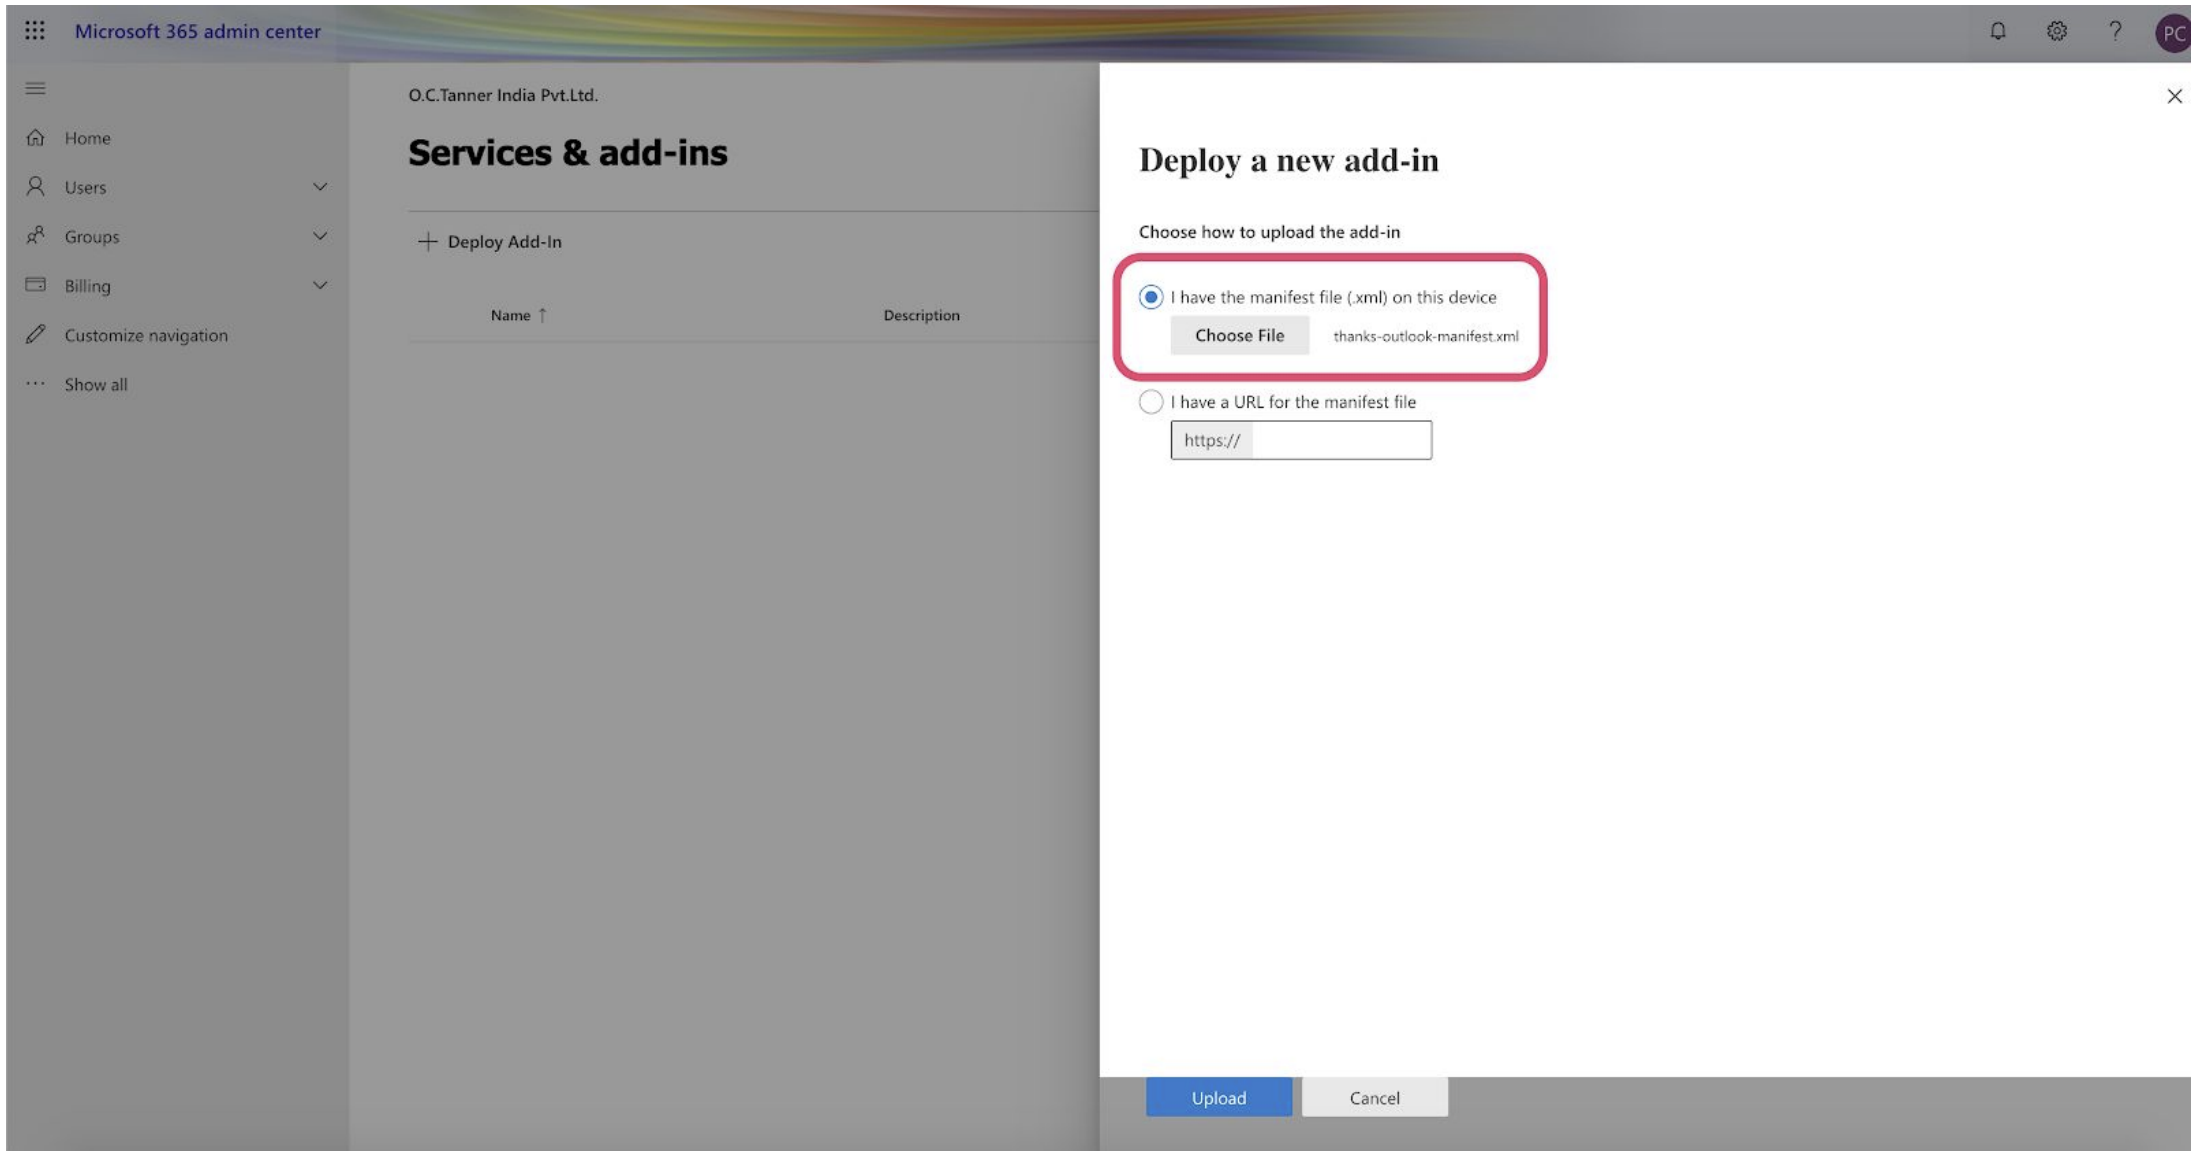
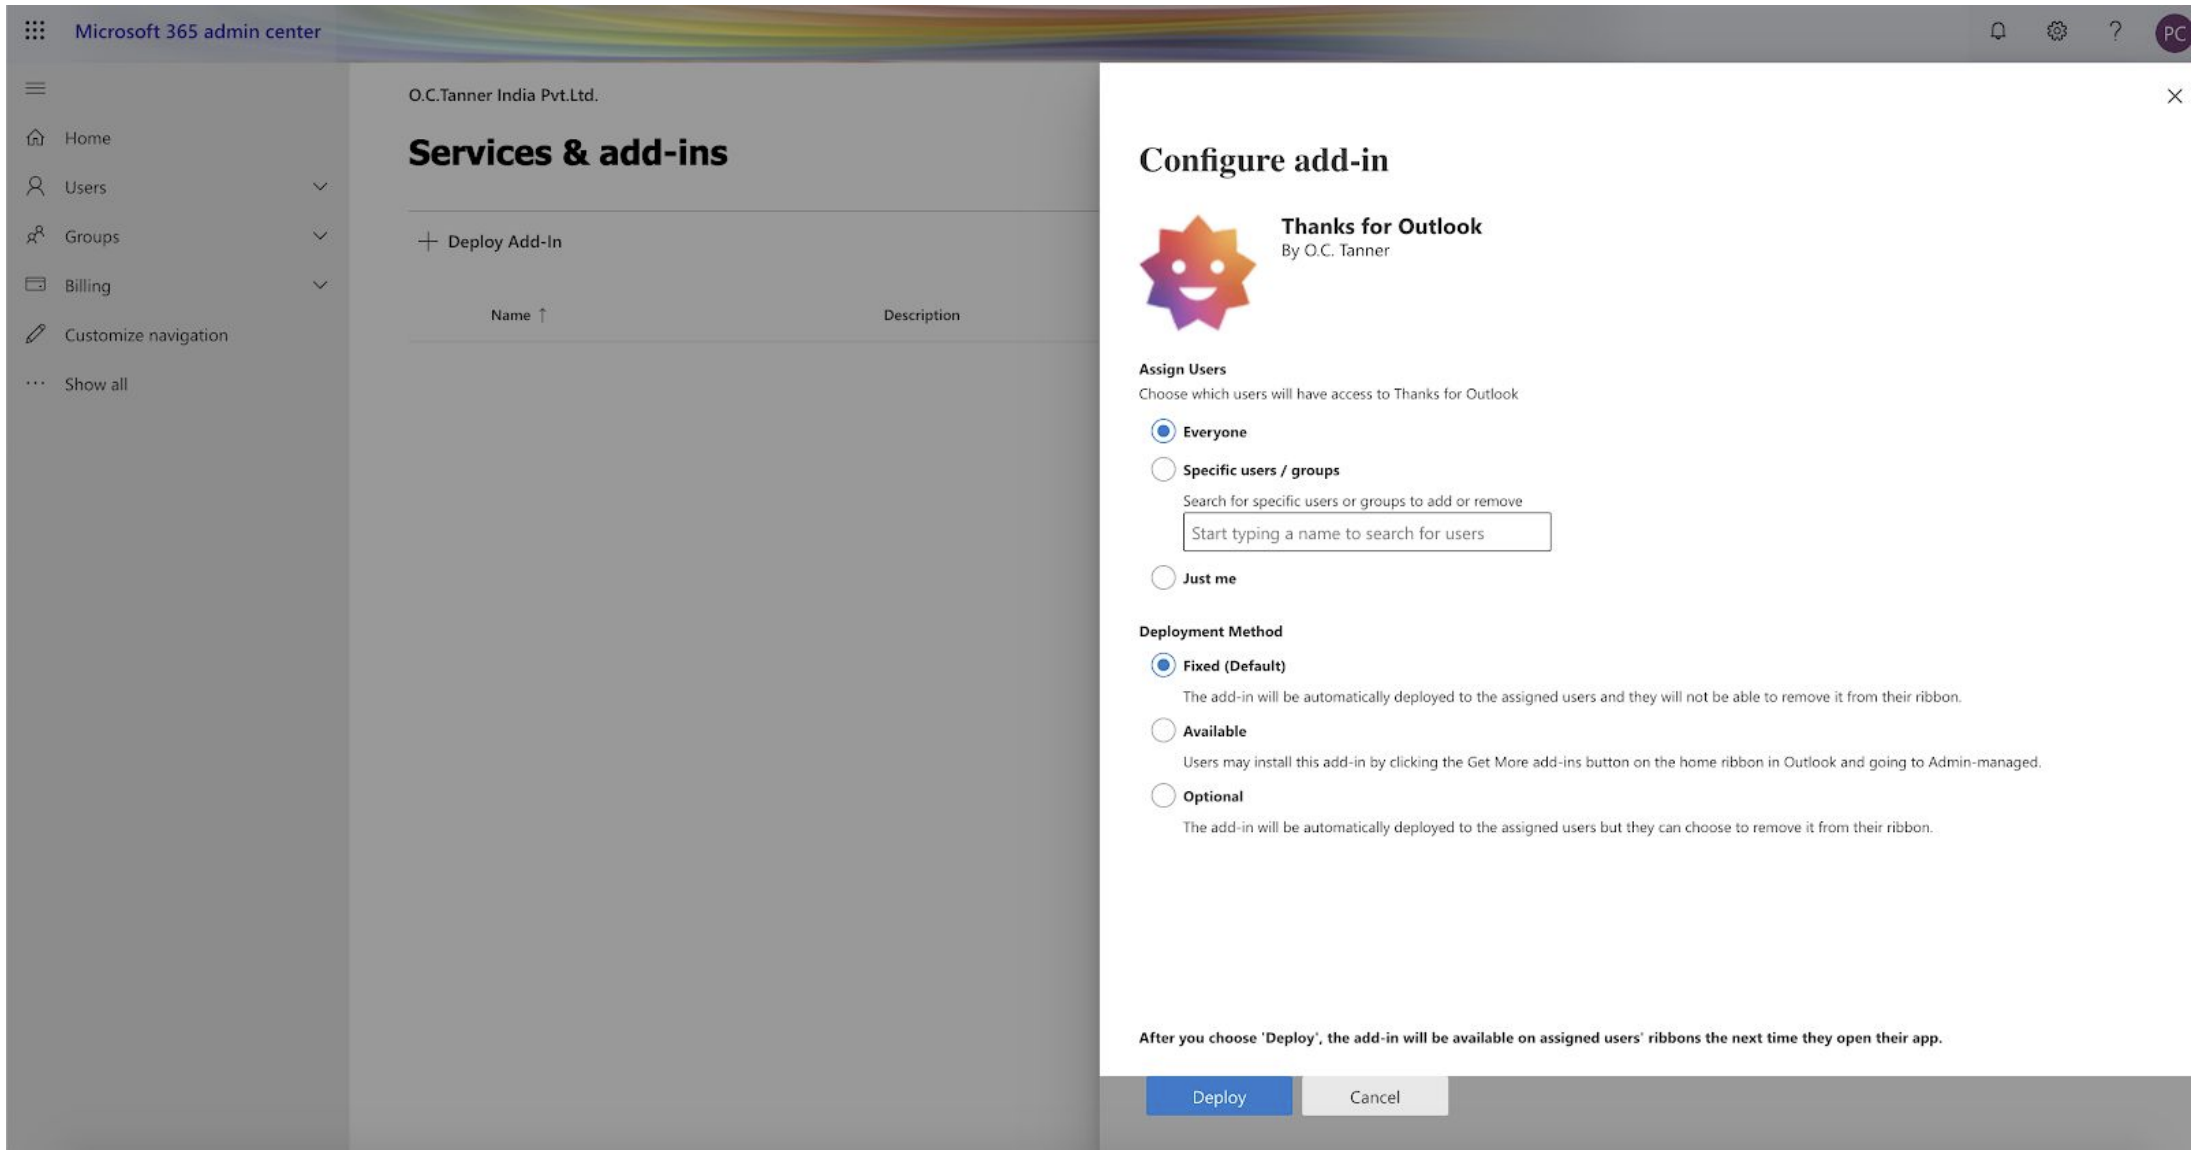
Step 4 : Configure Add-In
On the next page, the pop up shows the details of our Thanks Add-in that you’re adding to Outlook.
- Set Visibility to Everyone or Specific users/groups
- Choose Deployment Method if the Add-In will be Fixed(enabled by default) or Available or optional for users.
Please read the details and click on Deploy button.
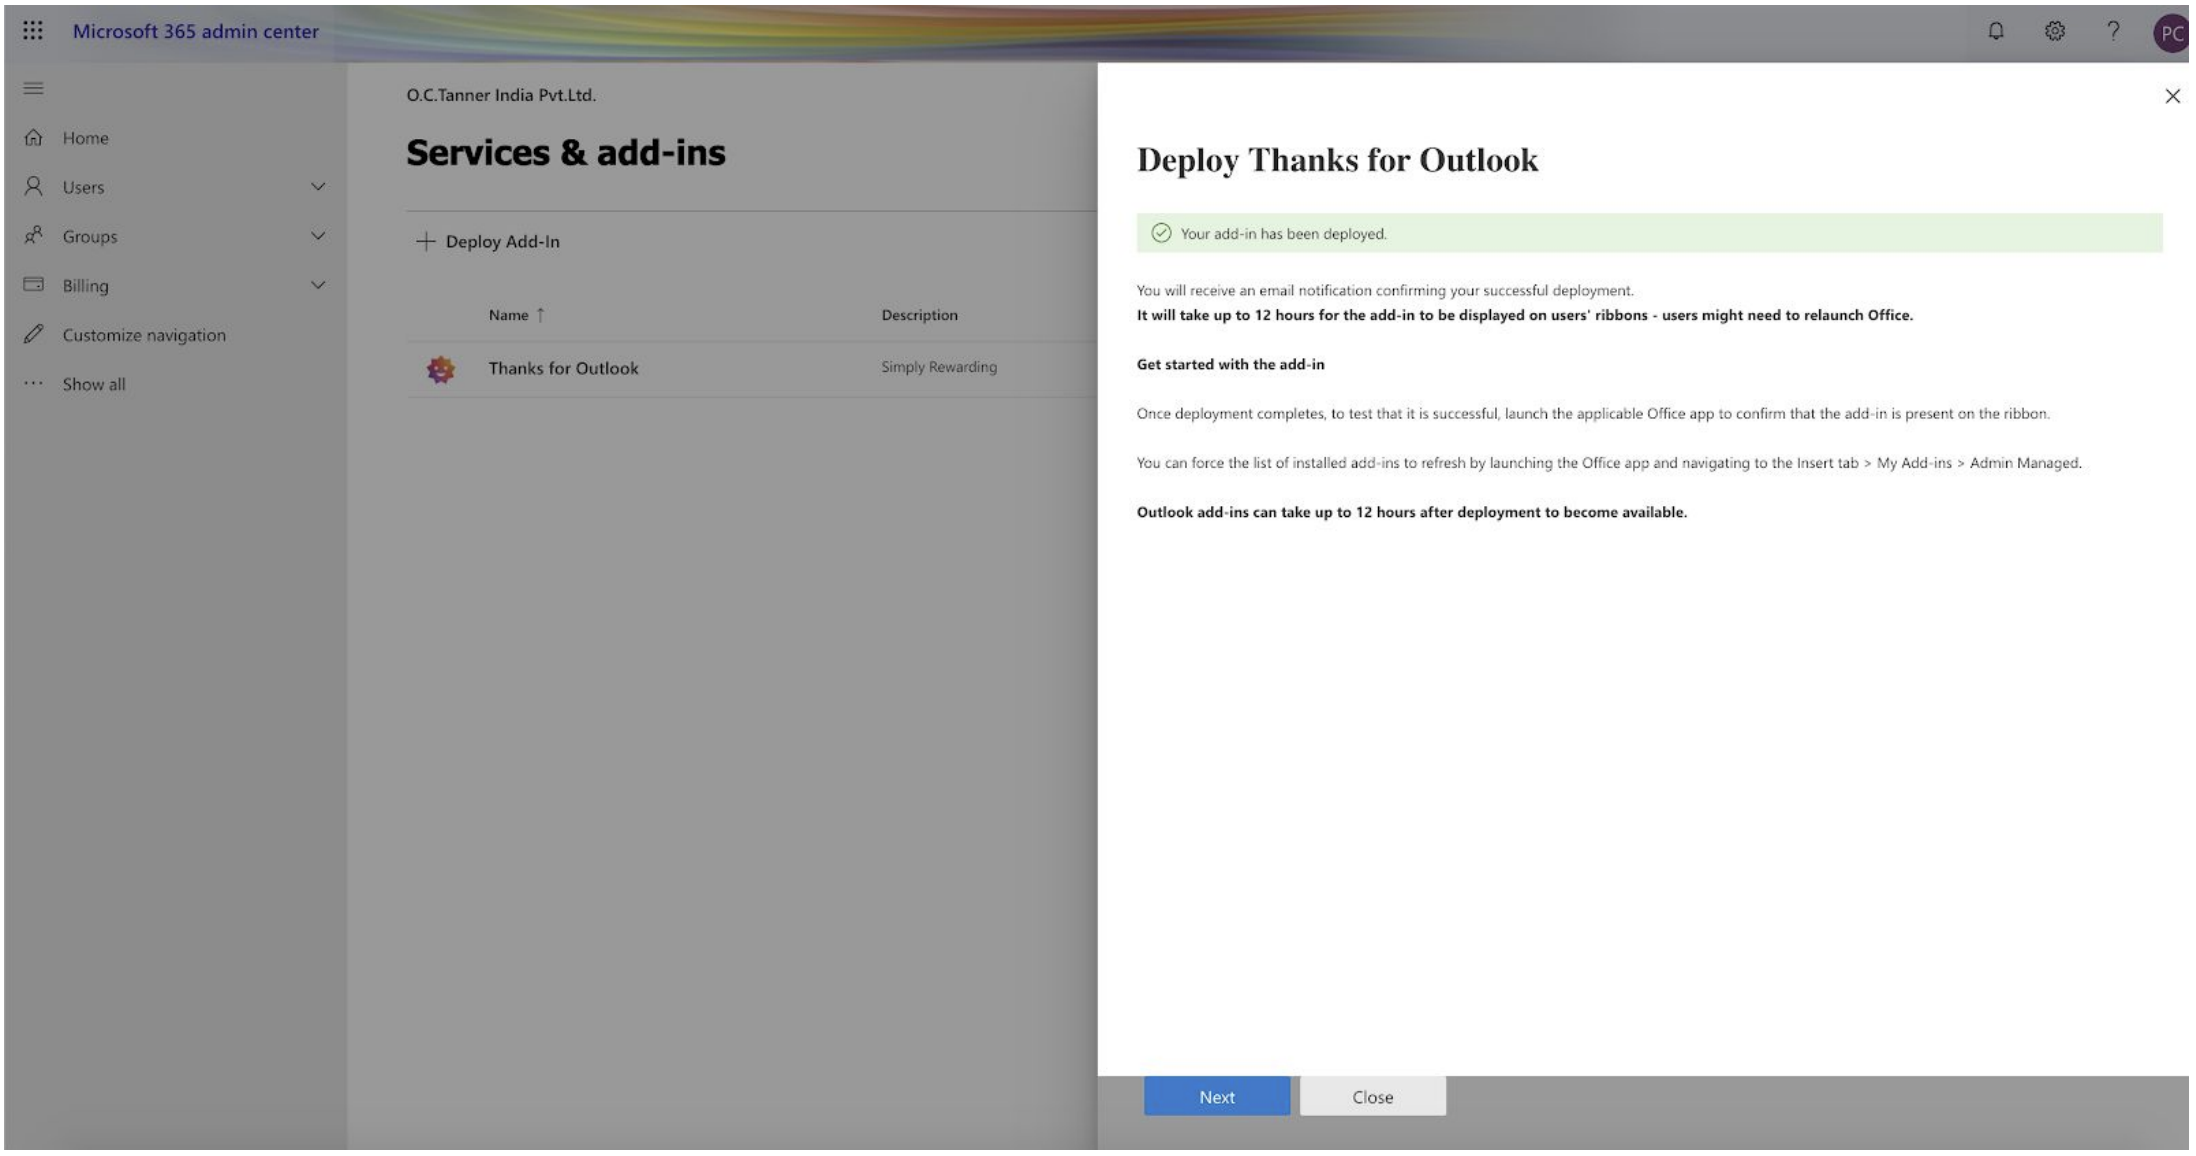
Step 5 : Deploy Thanks
Your Thanks Add-In is deployed. It can take upto a few hours to become available for users. Read the message which appears in the pop-up and click on Next button.
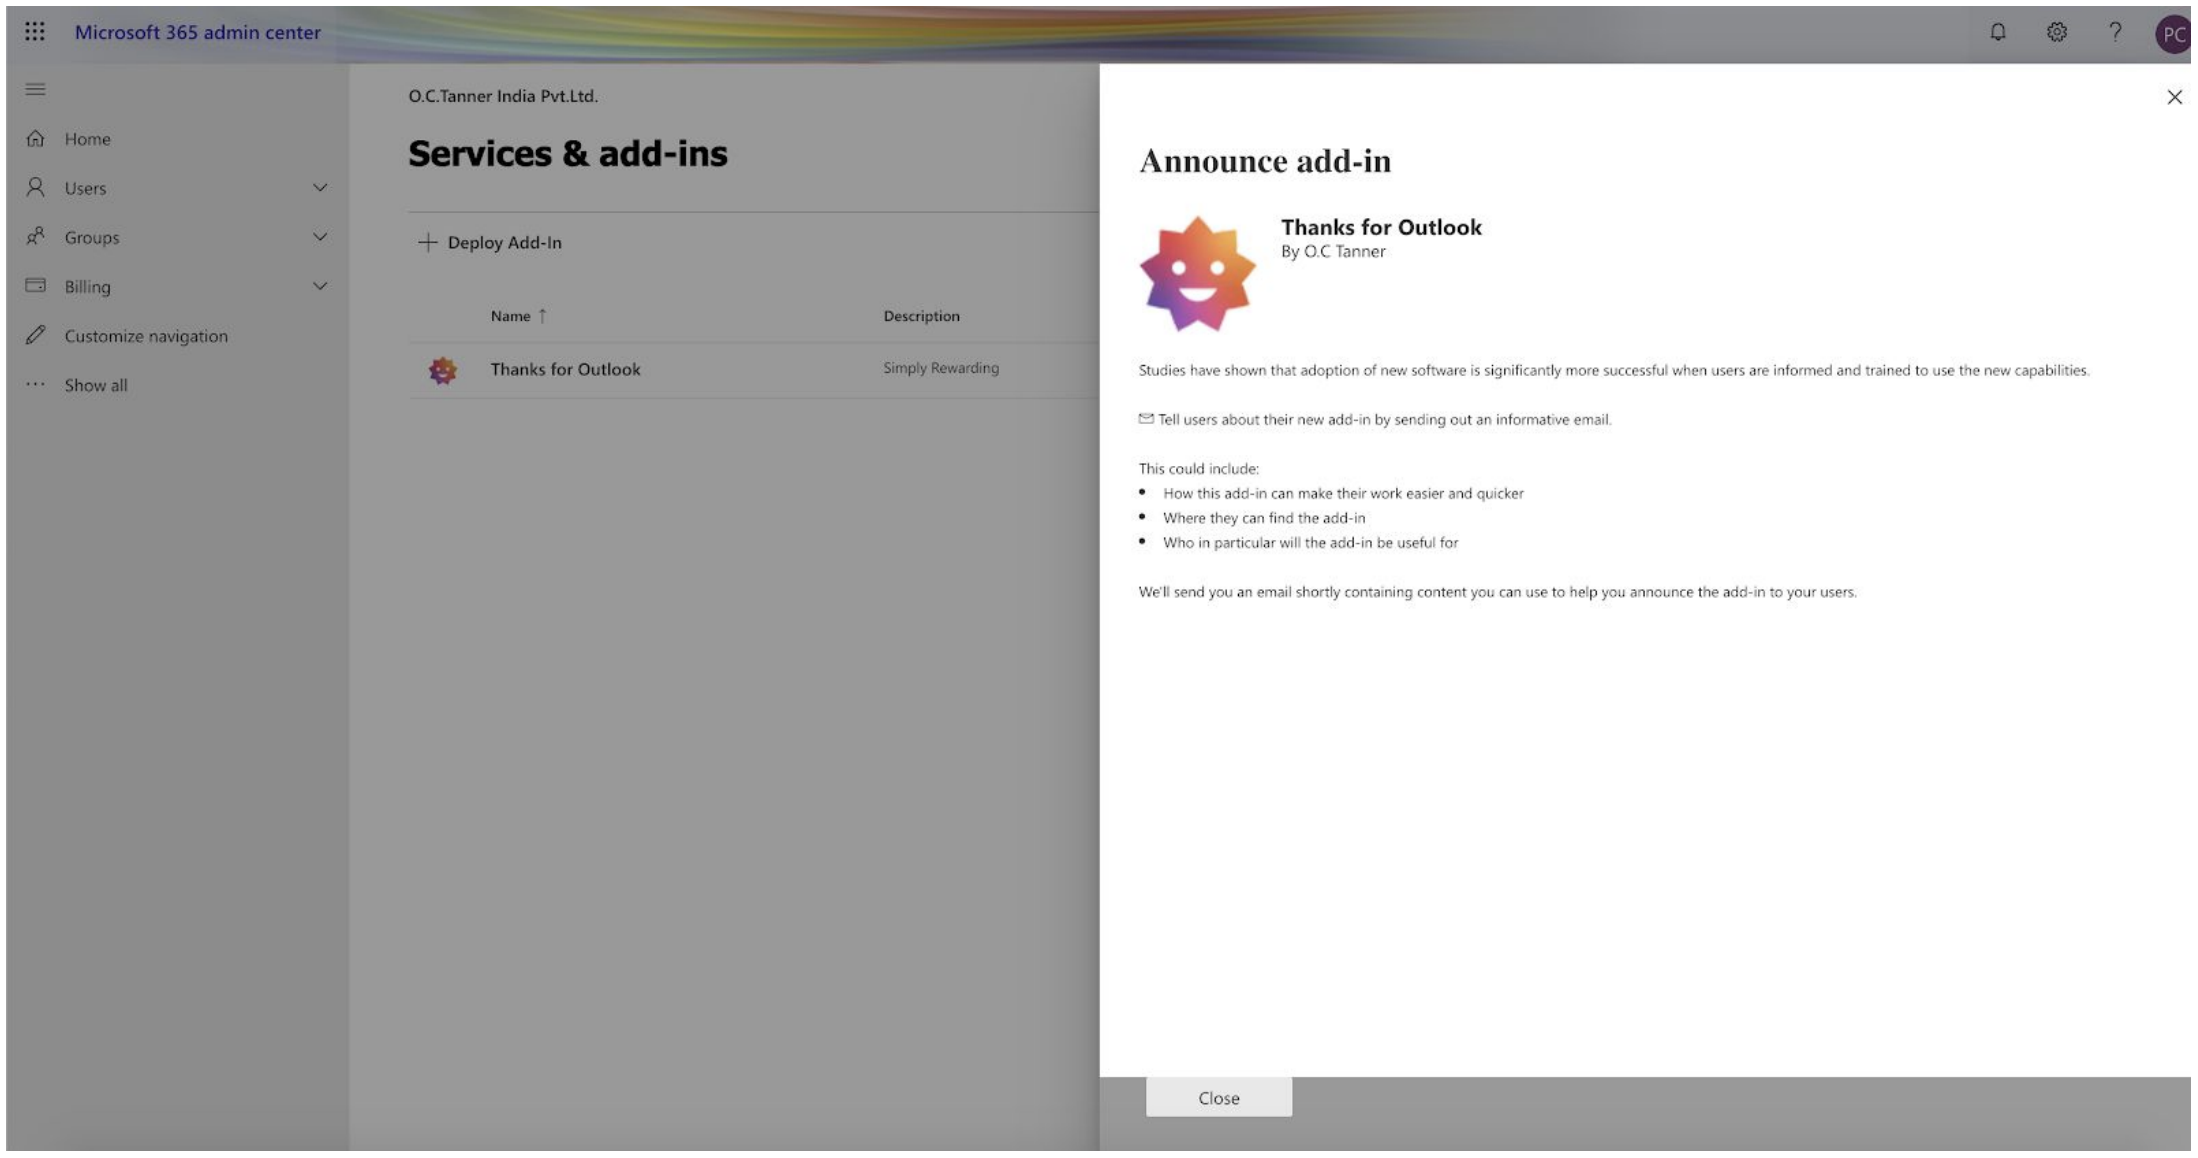
Your Thanks Add-in is ready to be announced. Inform and train users about add-in.
After the changes take place in the Outlook app, Thanks Add-In will be visible in the mailbox as below.

And it will open in the taskbar when clicked.